For more information about vertical layers in SADA Version 4, see Overview of Vertical Layers and Polygons.
Layers apply to both data and modeling plots. They can have irregular depths and be with or without polygons. Users can design and save multiple layering schemes. For 3d data, modeling is always performed in true 3d dimension but shown one layer at a time in a 2d view.
This step is available for all interviews, unless Geobayesian is the selected media type. Layers may also be added to empty SADA files.
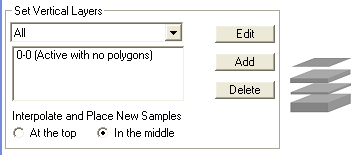
Select the Set up the Site step from the Steps Window. The Parameters Window displays the following under the Set Vertical Layers heading.
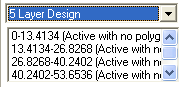
At the top of the section, the vertical layers dropdown list contains all available Layer designs. Use the arrow to select a design from the list. The definition of each layer in the current layer design will then be visible in the box below. SADA comes with 3 default layering schemes: All, Surface Only, and 5 Layer Design. The user can also create layer designs.
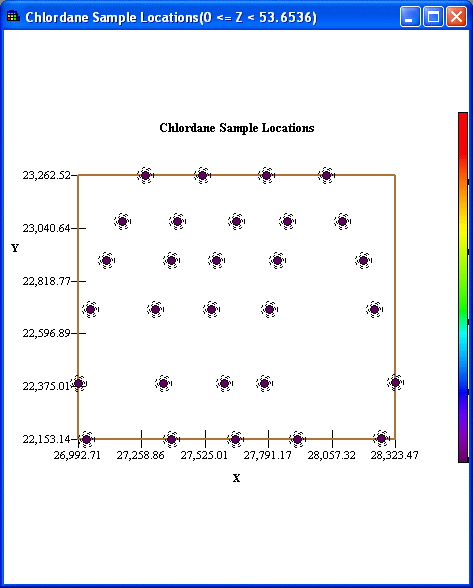
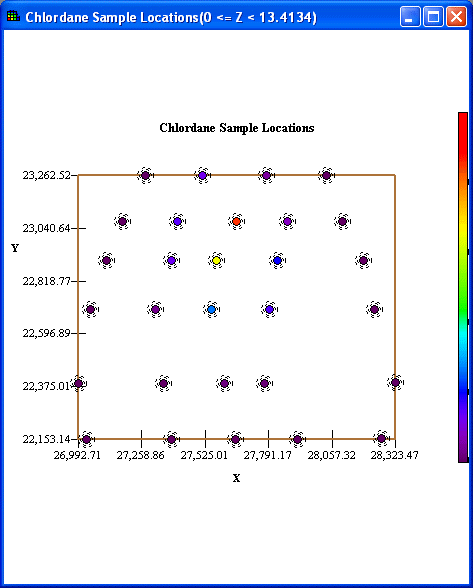
· All: SADA displays the data as if there was one large layer and all data points are included in the analysis. Since many data points will be on top of each other or overlapping, they will be portrayed by hatched circles around the data point in the Graphics Window.
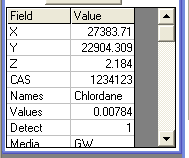
Click on any of the points, and all the data points over all depths within the layer will be displayed at the bottom of the steps window.
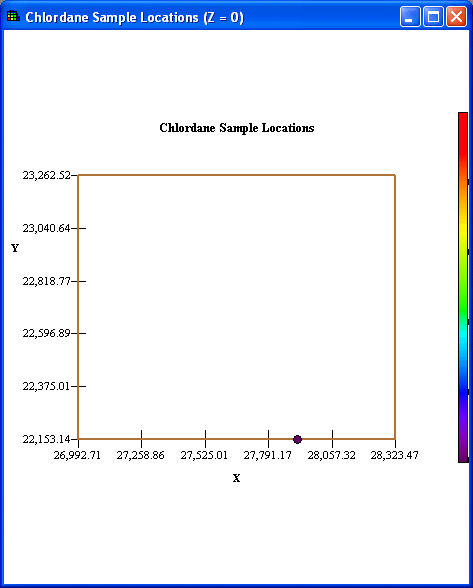
· Surface Only: Only the data points at the surface (depth=0) are displayed in the Graphics Window and are included in the analysis.
· 5 Layer Design: SADA divides the data into 5 equal-sized layers depending on the minimum and maximum vertical data values.
· User-defined Layer design
To add a new layer design, press the Add button. The following window will appear.
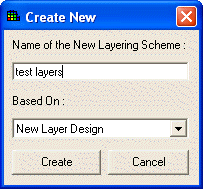
Enter a name for the new Layering design in the space provided. The new layering design can be based on a previously developed layering design, the default, or a new design. Press Create.
SADA opens the Edit Layer Design window.
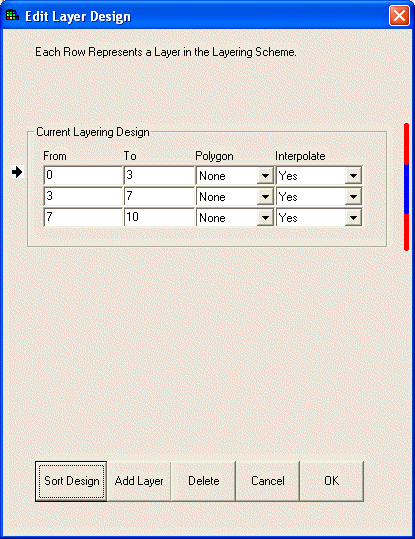
Enter values in the From and To columns to define each layer depth. Press Add Layer to add a blank layer to the layer scheme. If polygons have already been created, select the applicable polygon layer to display in each vertical layer. SADA will associate a polygon with the layer until otherwise notified. In the final column, choose whether a layer is turned on or off. If a layer is turned off, then model results from that layer are not included in any analysis or while creating new sample designs. Data are still included, however, during geospatial analyses unless the user clicks the box next to Use only selected data during interpolation on the Parameters Window. For more information, see Overview of Vertical Layers and Polygons.
Note: All layers must be contiguous and non-overlapping. A layer can be a single value.
To delete a layer, select that layer (note that an arrow will now point to that layer) and press Delete. The Red & Blue line is a visual representation of the layers and how the depth of each layer relates to the overall depth of the layering scheme. The portion of the line that is highlighted is equivalent to the layer that is pointed to by the arrow. To sort the layers by depth, press Sort Design.
To cancel the layering scheme edit, press Cancel. Otherwise, once all the layers are entered, press OK. The layer design is now available in the Parameters Window.

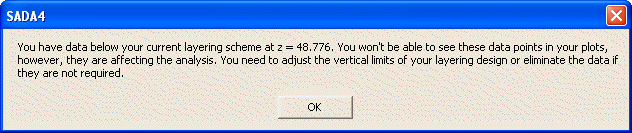
Note: If you select a layering scheme that does not include all the data, SADA will provide a warning that points outside of the scheme may affect the analysis.
At the bottom of the section under Interpolate and Place New Samples are two buttons: At the top and In the middle. Since each layer in a layering design is a range of depth, this section allows the user to set the depth of the interpolation point for each layer to be used in geospatial modeling. The default is "In the middle".
· At the top – the interpolation point will be the minimum depth for each layer.
· In the middle – the interpolation point will be halfway between the minimum and maximum depth for each layer