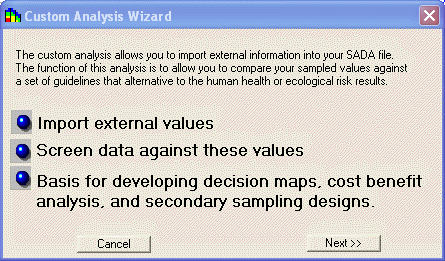
The custom criteria analysis allows users to import external data into SADA to use for screening purposes. For example, a user may wish to screen data against state soil screening values. The results may then be integrated into the other modules, such as decision maps, cost benefit analysis, or sampling schemes. First, the user must import the data into the SADA file via the Custom Analysis Wizard.
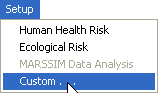
From the Setup menu, press Customģ
The Custom Analysis Wizard opens. Press Next>>.
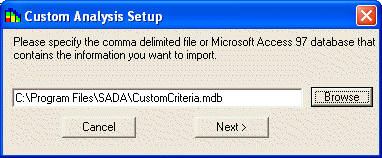
Enter the external file name that is to be imported in the text box or use the Browse button to select the file. Then press Next>>.
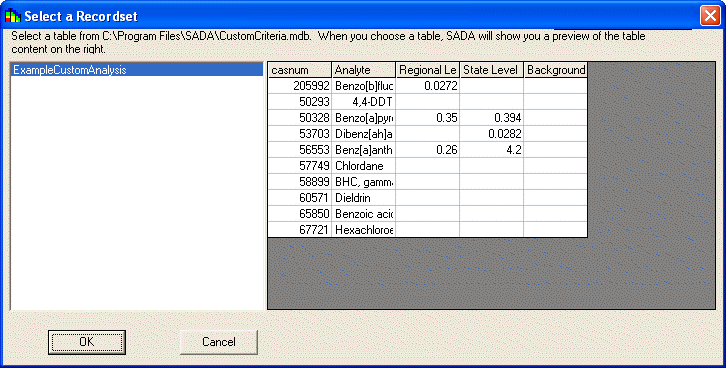
If the file is an Access database file, The Select a Recordset window will appear next. The left pane lists all the tables included in the database. Click on a table to see a preview of the table content in the right side of the window. Select the desired table and press OK.
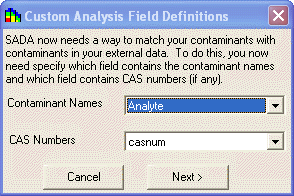
In the next window, SADA will attempt to match the contaminant and CAS Number information in the current SADA file with the appropriate columns in the external file. Select the appropriate column headings in the drop down boxes if they are not already selected. Then press Next>>.
SADA now attempts to match each contaminant in the current SADA file with a contaminant found in the external file. SADA searches by CAS number first (if available) and then by name. If the CAS number and name match exactly, SADA classifies it as Matched. If only the Name or the CAS number match, then the classification is Partial Match. Finally, if no match is found for either, the classification is No Match. These three classifications are presented in the next window.
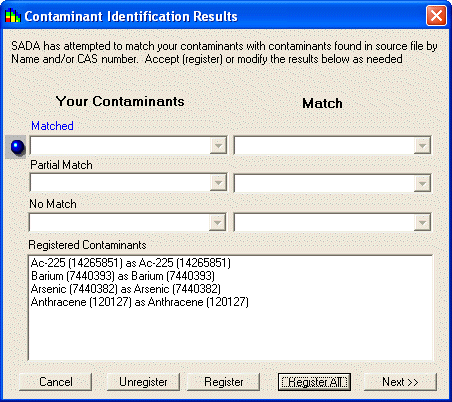
On the left, your contaminants have been divided into each of these three categories. To view a resulting match for any contaminant click on the down arrow and select your contaminant from the resulting drop down list. The corresponding selection on the right hand side will change to show SADAÆs match for your contaminant. If the match is acceptable, press the Register button. If all matches within a category are acceptable, press All. To unregister a matched pair(s), select the pair(s) in the registered contaminants box and press Unregister. Your contaminants will return to their original classification with their original match.
If no match is available for some of your contaminants, you may leave them as unregistered. If appropriate later, you may link these (or re-link registered) contaminants separately without setting up the entire custom analysis module again.
Press Next>> to conclude setting up the custom analysis module. Once the module is complete, a new analysis type will appear in the drop down box on the second toolbar with its name based on the name of the external file. When this analysis is selected on the toolbar, a new menu will appear with the same name and the menu options will be enabled.
Note: SADA allows more than one custom analysis to be setup within a SADA file. Each analysis will be identified in the analysis combo box with a unique name based on the name of the external data file.