For more information about polygons in SADA Version 4, see Overview of Vertical Layers and Polygons.
Within a spatial framework, it is often necessary to select certain items or identify a particular area in space. SADA allows the user to draw polygonal shapes for defining areas and selecting items in space. Polygons are very flexible and can be used for defining irregularly shaped spaces. When a polygon is drawn, items or space located inside the polygon is selected. While the polygon is present, only the items or space within the polygon will be utilized in the analysis. Note: the only exception is if the polygon area extends beyond the site boundary. Then only data within the polygon area that is within the boundary will be included.
Polygons are created and maintained as layers. They can be assigned to one or more vertical layers. A polygon layer is "embedded" into a vertical layer and cuts through the entire layer.
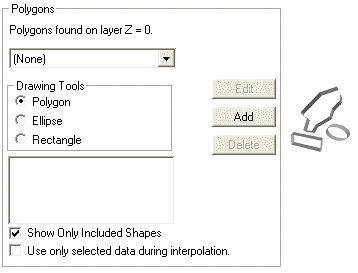
Select Set up the site from the Steps Window. (Note that this step is available for all interviews in SADA.) The Parameters Window displays the following under the Polygons Heading.

Press the Add button to add a new polygon layer.

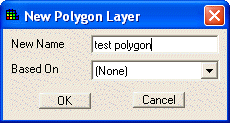
Enter a name for the scheme and what the polygon(s) will be based on (if other polygon layers have already been created). Then press OK.
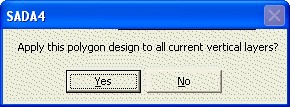
Note: If vertical layers have already been set, SADA will ask if the new polygon should be applied to all layers. To apply a polygon to selected layers, see Set vertical layers.

This polygon will now be active in the list of polygons. Notice that there are 3 drawing tools on the Parameters Window. To draw a polygon, select the appropriate tool.
· Polygon – Allows the user to create a many-sided polygon to partition the data.
· Ellipse – Allows the user to create an ellipse to partition the data.
· Rectangle – Allows the user to create a rectangle to partition the data.
Then press the Edit button. Notice that everything becomes disabled in SADA during polygon creation.
For the polygon tool, move the mouse over the Graphics Window and note that the coordinates appear on the status bar at the bottom of the screen. Each time the left mouse button is clicked, a new vertex is added. To complete the polygon, double click the left mouse button. For the other two tools, hold the mouse button down and drag the mouse to create the ellipse or rectangle.
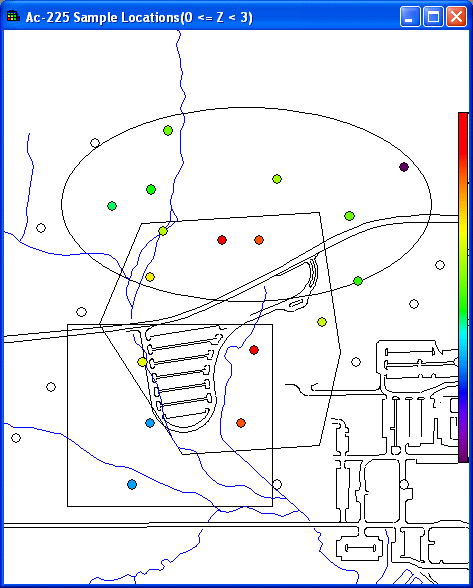
After each polygon has been created, press the Done button. Add as many polygons per layer. To change the layer, select the new layer from the Layers box and add polygons to that layer in the same manner. The polygon(s) will now display in the Graphics Window.
To turn off the polygons, select Set up the site from the Steps Window and select [None} from the Polygon Layer list in the Parameters Window.

After a polygon has been drawn, vertices can be removed, added, or moved to another location. Similarly, an entire polygon can be moved to a new location or deleted entirely. To edit a polygon, left-click the mouse to highlight the vertices blue. The following conditions assume that the vertices have been highlighted.
To select a particular vertex, left click inside the vertex and it will turn red. To delete the vertex, press the Delete button. To move the vertex, hold the left mouse button down inside the vertex, move to the desired location, and release. To add a new vertex, click anywhere on a line between two vertices.
To select an entire polygon, right click inside any vertex and the entire polygon will turn red. To delete the polygon, press the Delete button. To move the entire polygon, hold the right mouse button down inside any vertex, move to the desired location, and release.
To copy or paste polygons, simply right mouse click and a popup menu containing the copy and paste options will become visible. When a polygon is copied, the location of the defining vertex points are preserved in the XY plane such that when the polygon is pasted onto another level, the location (and size) of the polygon is preserved.