Under this initial sample design, the creation of new samples is completely up to the user. Using expert knowledge or professional judgment, the user must define the location and number of new samples by creating a Custom Design. This design can be saved and edited multiple times. This approach is easy to implement and can be more efficient; however, it Introduces bias and cannot reliably estimate precision of estimates nor use statistical analyses to draw conclusions.
Availability
This sample design is available for all SADA files.
Steps
These are the steps that display in the Steps Window when this sample design is selected during the step Set sampling parameters. Click on the links below for more details about the following steps.
1. See the data , Draw/Edit Prior , Display empty plot
9. Add to results gallery (not available for empty SADA files)
Design-specific Parameters
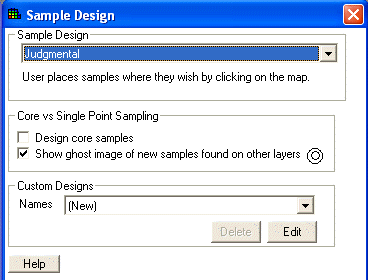
When Judgmental is selected during the Set sampling parameters step, the Parameters Window changes to look like the following:

See Design Core samples or Show Ghost image for an explanation of the core vs. single point sampling options.
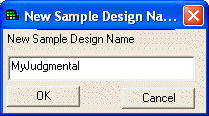
Press Show the Results on the Steps Window or press the Edit button on the Parameters window to create a new judgmental design. SADA will prompt the user for a name.

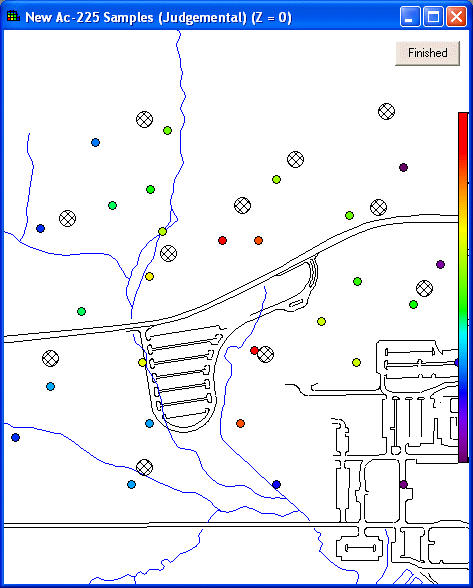
SADA will then go into edit mode, disabling everything else in SADA. Note that the Edit button on the Parameters Window has now changed to Done.
Use the mouse to select sample locations in the Graphics Window. Left click on the graphics window to add a new sample at the location of the click. This new sample is shown as a crosshatched gray circle. Move new samples by clicking & dragging on the circle. To delete new samples, left click on the desired circle (this changes its color to blue) and press the delete button. To add samples to multiple layers, change the active layer using the Layers Box.
Press Done when finished creating new samples. The design will now appear in the drop down box under Custom Designs on the Parameters Window.
Outside of edit mode, the created samples are shown as cross-hatched gray circles. Only samples that exist in the active layer are shown in the Graphics Window. To view the actual coordinates of the new sample points export the information to a comma delimited excel file by using the Output to File toolbar button in main form of SADA.
